remoteiot vpc network raspberry pi – Because it allows for seamless connectivity between objects and systems, the Internet of Things (IoT) has completely changed how we engage with technology. Among the many platforms and tools available, RemoteIoT, VPC Network, and Raspberry Pi are particularly strong options for creating IoT projects that are secure, scalable, and reasonably priced. With an emphasis on using free resources to get started, this essay will examine how various technologies might be combined to build reliable IoT systems.
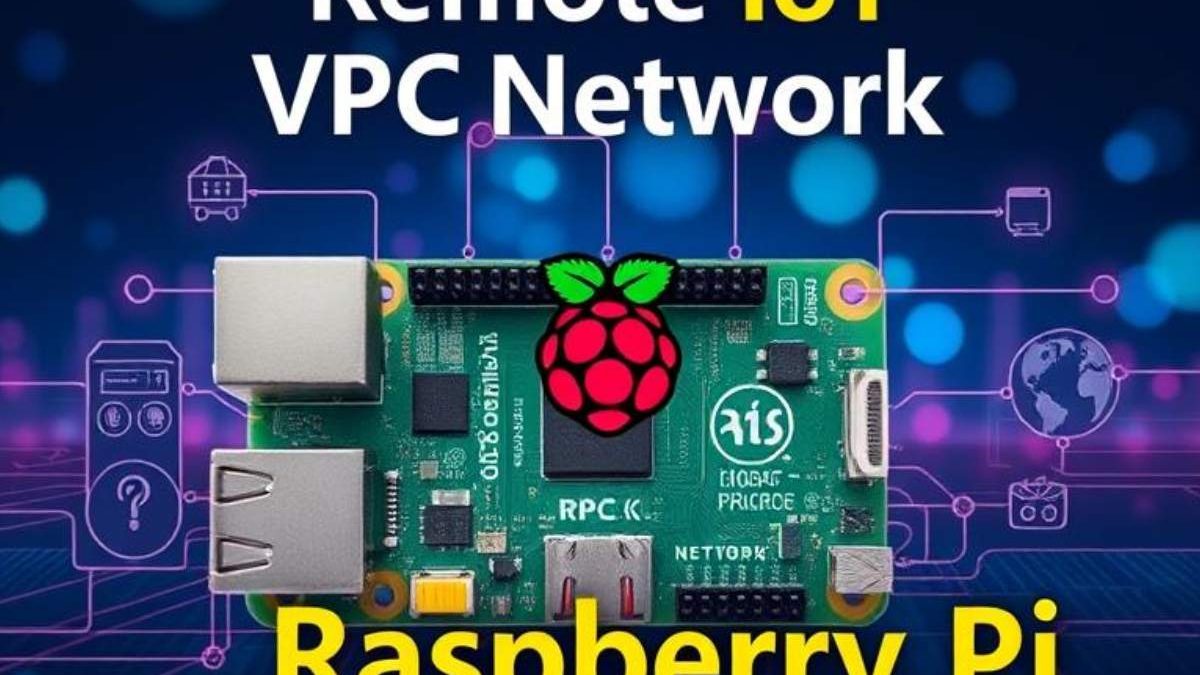
Utilizing a small portion of IT infrastructure known as IoT (Internet of Things), the Raspberry Pi is a cost-effective, dependable, and adaptable mini-computer that may be used to operate smart home appliances or even industrial machines. However, IoT devices frequently encounter difficulties with safe remote access and communication, particularly when managed or controlled from any location. A Virtual Private Cloud (VPC) can help in this situation. Secure remote control of IoT devices on your Raspberry Pi is made possible via a VPC, which lets you establish a private and secure network connection over the internet without sacrificing data security.
This guide will give you detailed instructions, tutorials, and insights into current market trends to help you create efficient IoT systems, regardless of your experience level.
Table of Contents
Understanding the Key Technologies
IoT remote
A platform called RemoteIoT was created to make managing and keeping an eye on IoT devices easier. It is the perfect option for IoT developers and aficionados because it offers data visualization, device control, and remote access capabilities. RemoteIoT is an excellent tool for managing your Raspberry Pi-based Internet of Things projects because of its intuitive UI and support for numerous protocols.
Network VPC
You can deploy and manage resources like virtual computers, databases, and Internet of Things devices in a safe, protected cloud environment called a Virtual Private Cloud (VPC) network. You can guarantee a safe connection between devices and cloud services by incorporating a VPC network into your IoT configuration, shielding your data from unwanted access.
Raspberry Pi
One of the mainstays of Internet of Things development is the Raspberry Pi, a low-cost, multipurpose single-board computer. It is a great option for IoT solution deployment and development due to its small size, GPIO ports, and compatibility with multiple operating systems.
Benefits of a Remote IoT VPC Network
- Security A VPC network provides a secure terrain for your IoT bias, guarding them from external pitfalls.
- Scalability fluently add or remove bias as demanded without dismembering the network.
- Remote Access Monitor and control your IoT bias from anywhere in the world.
- Cost-Effective exercising a jeer Pi keeps the setup cost-effective and accessible.
- Inflexibility Customize the network to meet specific conditions and operations.
What You’ll Need for Remoteiot VPC Network Raspberry Pi
Software Components
- A Raspberry Pi OS image to burn into an SD card.
- Raspbian OS, The sanctioned operating system for Raspberry Pi.
- OpenVPN For creating a secure VPN connection.
- MQTT Broker For messaging between IoT bias( e.g., Mosquitto).
- Knot- RED For visual programming and robotization.
- Python For scripting and robotization tasks.
- Internet connection.
- An AWS account (You can even use a free tier account)
Hardware Components
- Raspberry Pi A protean and affordable single- board computer.
- MicroSD Card For storing the operating system and configuration files.
- Ethernet Cable For a stable internet connection.
- Power Supply To power the Rasberry Pi.
- IoT bias Sensors, selectors, and other IoT bias you wish to connect.
Step 1: First, we need to set up our pi
Firstly, you need a working Raspberry Pi running the latest Raspbian version. If you start using:
1. This can be downloaded from the official Raspberry Pi website.
2. All you need is your computer and the SD card, which this method requires.
3. Start Imager, choose Raspberry Pi OS and the SD card, then click Write.
4. After you have written it, insert the SD card into your Raspberry Pi and power it on.
Step 2: How to get a VPC on AWS (a virtual private cloud)
The first experience with the term Virtual Private Cloud (VPC) was associated with those private sections of the internet where one can see and communicate packets between devices controlled by a party; however, it is all already evolving.
1. Log in to the AWS Console.
2. On the VPC dashboard.
3. Click “Create VPC.”
4. Name your VPC, e.g., MyIoTNetwork.
5. Select an IP range (10.0.0.03/16) that defines the VPC’s private address space.
6. Then click “Create” to create your VPC
In this way, you can set up your own private network environment which can add more security and help with connectivity of the IoT devices by making them feel as if they are still on local access even when accessed from a remote location.
Step 3: Create an AWS Client VPN endpoint in the VPC.
Connecting the Raspberry Pi to VPC Securely with a VPN (Virtual Private Network)
1. Navigate to VPN Connections in the AWS Console.
2. Hit “Create VPN Connection” and pick your VPC & Public IP address.
3. Download the configuration file you plan on using with your Raspberry Pi for use of the VPN.
The VPN establishes a secure “tunnel” for the Raspberry Pi to reach your VPC from afar, increasing security through encrypting all traffic entering and leaving.
Step 4: Setting up your Pi for VPN Scheduling
Follow the steps below to get your Raspberry Pi ready for VPN access.
1. Terminal opened on Raspberry Pi
2. Install OpenVPN by running:
bash
sudo apt-get install openvpn
3. Upload the VPN configuration file to your Raspberry Pi.
4. Connect to the VPN with
bash
sudo openvpn –config your-config-file ovpn
After that, your Raspberry Pi should be connected to the AWS VPC via VPN securely.
Step 5: Testing the Connection.
To verify everything is properly set up:
1. Now that you have connected to a VPN server, the status shows the words specific IP on your Raspberry Pi terminal’s type: ifconfig.
2. Try to ping this IP from a different computer. If the ping is successful, you’re ready to connect!
Step by Step Configuration Process
1. Setting Up the Raspberry Pi
* Install Raspbian OS
- Download the Raspbian OS image from the sanctioned Raspberry Pi website.
- Use a tool like Balena Etcher to flash the image onto the MicroSD card.
- Fit the MicroSD card into the jeer Pi and power it on.
* Configure Basic Settings
- Connect the RaspberryPi to your network via Ethernet.
- Access the Raspberry Pi using SSH( e.g., ssh pi@raspberrypi.local).
- Update the system sudo apt update & & sudo apt upgrade.
2. Installing OpenVPN
* Installing OpenVPN
- Run the command: sudo apt install openvpn.
* Configure OpenVPN:
Create a new directory for OpenVPN configuration files which is: sudo mkdir -p /etc/openvpn.
Download a configuration file as sample and edit it to suit your network settings.
Example configuration file (server.conf):
port 1194
proto udp
dev tun
ca ca.crt
cert server.crt
key server.key
dh dh2048.pem
server 10.8.0.0 255.255.255.0
ifconfig-pool-persist ipp.txt
keepalive 10 120
cipher AES-256-CBC
persist-key
persist-tun
status openvpn-status.log
verb 3
Generate the necessary Keys and certificates by using tools like Easy-RSA or a similar one.
* Start OpenVPN Service:
- Start and Enable the OpenVPN service: sudo systemctl enable openvpn@server && sudo systemctl start openvpn@server.
3. Setting Up the MQTT Broker
* Install Mosquitto
- Run the command: sudo apt install mosquitto mosquitto-clients.
* Configure Mosquitto
- Edit the configuration file: sudo nano /etc/mosquitto/mosquitto.conf.
- Add the following lines to enable authentication:
1. allow_anonymous false
2. password_file /etc/mosquitto/pwfile
3. Create a Password File: sudo mosquitto_passwd -c /etc/mosquitto/pwfile username.
* Restart Mosquitto:
- Restart the Mosquitto service: sudo systemctl restart mosquitto.
4. Configuring Node-RED
* Install Node-RED
- Run the command: sudo npm install -g –unsafe-perm node-red.
* Start Node-RED
- Start Node-RED: node-red.
- Access the Node-RED interface via a web browser: http://<raspberry-pi-ip>:1880.
* Create Flows
- Use Node-RED to create flows for automating tasks & integrating IoT devices.
- Connect an MQTT input node to a function node that processes the data and sends it to an output node.
5. Connecting IoT Devices
* Configure IoT Devices
- Ensure your IoT devices are compatible with MQTT and can connect to the Raspberry Pi.
- Configure each device to connect to the MQTT broker using the appropriate credentials.
* Test Connectivity
- Use MQTT clients (e.g., MQTT.fx) to publish and subscribe to topics, ensuring data flows correctly
Security Considerations
1. Secure Communication
- Use Encryption to ensure all dispatches are translated using OpenVPN.
- Strong watchwords: Use strong, unique watchwords for all services and bias.
2. Access Control
- Limit Access circumscribe Access to the VPC network to authorized bias and druggies.
- Firewall Rules apply firewall rules to block unauthorized Access.
3. Regular Updates
- Update Software Regularly modernize the Raspberry Pi OS and all installed software to patch vulnerabilities.
- Examiner Logs: Keep an eye on system logs for any suspicious exertion.
Troubleshooting
1. Connection Issues
- Check Network Settings to ensure the Raspberry Pi is rightly connected to the network.
- Corroborate OpenVPN Configuration Double-check the OpenVPN configuration lines for any crimes.
2. Device Connectivity
- Test MQTT Connection: Use MQTT guests to test the connectivity of IoT bias.
- Check Device Configuration to ensure IoT bias are rightly configured to connect to the MQTT broker.
3. Performance Issues
- Optimize knot- RED Flows ensure knot- RED overflows are optimized for performance.
- Examiner Resource operation: Keep an eye on the Raspberry Pi’s resource operation to avoid backups.
4. Debugging your RemoteIoT VPC network
- To keep an eye on metrics and logs, use AWS CloudWatch.
- Seek support from the AWS community and forums.
- For future reference, keep a record of all setups and modifications.
Understanding IoT VPC Network Advantages
An IoT VPC network helps manage and network hardwired and mobile devices. Some of these include:
* Remote Access: You can control your Raspberry Pi from anywhere in the world, which allows you to achieve tasks like turning on lights, checking temperature sensors, or any IoT-related tasks you need.
* Security: Your IoT traffic is not exposed to the public internet; it remains within your VPC, allowing all your data in transit to remain private and secured from external access.
* Separation and Grouping of Devices: a VPC network, such as RemoteIoT VPC, will also permit a person to shape the logical organization of their devices. Additionally, it allows them to divide in their IoT gadgets. Untracked gadget device administration helps you associate with solid connection without unraveling troubles.
* Scalability: You can easily and securely add devices to your VPC network, allowing continuous scaling for when the number of IoT in your IoT Network grows.
* Develop the skills in Networking: Setting up and running a VPC network gives practical experience in cloud infrastructure networking.
Real World Applications
1. Smart Home robotization
- Control bias Ever controls smart home bias like lights, thermostats, and security cameras.
- Automate Tasks Use Node-RED to automate tasks like turning on lights in the evening or conforming to the thermostat grounded on rainfall conditions.
2. Industrial IoT
- Monitor Equipment Ever cover artificial outfits for conservation and performance optimization.
- Data Collection Collect and dissect data from detectors to ameliorate functional effectiveness.
3. Environmental Monitoring
- Track Conditions Cover environmental conditions like temperature, moisture, and air quality.
- Alert Systems: Set up alert systems to notify you of any anomalies or critical conditions.
Configuring Firewall Settings for Remoteiot Vpc Network Raspberry Pi
These firewall settings need to be considered to allow any IoT device to talk directly inside the VPC. Peer-to-Peer (P2P). Remote IoT VPC networks with Peer to physical hierarchy, in contrast, have an advantage over P2N and NPN communication by the fact that two devices on this network can talk amongst themselves, routing instances between them is done entirely through L3VPN+ extension kernel code without forcing their traffic into level 1 standard flow mechanism.
The only difference here will be if at least one node using Virtual Private Network IPv6; allowing support both proxy-based or cloud-localized services via NATIZONE solution stack where some configurations would have been failed mostly due heavy integration work. The only exception is that the firewall must permit UDP for outbound messaging. Properly configuring the firewall enables fast and secure exchanges between machines within VPC.
Tips for Remoteiot Vpc Network Raspberry Pi
* Keep it simple: Start with easy configuration and core use cases before you scale.
* Use Stronger Passwords: Protect your network and devices with complex passwords.
* Keep Raspberry Pi and AWS configurations Updated: Regular Updates for enhanced security & efficiency.
* Documentation: If you invested the time in setting up all this, document your steps and configurations for troubleshooting or future expansion.
Future Possibilities
1. Integration with Cloud Services
- Hybrid results Integrate the IoT VPC network with services for enhanced data processing and store housing.
- Scalability influences pall coffers to gauge the network as demanded.
2. Advanced Analytics
- Machine Learning Implement machine learning algorithms to dissect IoT data and give perceptivity.
- Prophetic conservation: Use prophetic analytics to anticipate outfit failures and schedule conservation.
3. Enhanced Security
- AI-Driven Security uses AI to describe and alleviate security pitfalls in real-time.
- Blockchain Integration utensil blockchain technology for secure and transparent data deals.
Conclusion
remoteiot vpc network raspberry pi – This method is much more complex than installing a service like Dataplicity, but you can be confident that nobody else will intercept your Wi-Fi password and use the same access point. This guide may seem very cumbersome at first glance; however, controlling an IoT device secured in this manner from anywhere on Earth is pretty powerful! The VPC network will give you an additional layer of security, and using a VPN creates a secure “private” connection between the devices. That means that a world is opened up in the remote IoT management universe, and contrary to other solutions available on the market, it gives us flexibility regarding device scalability and security.
There are many advantages to using a Raspberry Pi to set up a RemoteIoT VPC network on AWS, such as flexibility, security, and scalability. You may build a solid IoT solution that meets your needs by following the procedures described in this guide. To guarantee optimum performance and security, don’t forget to check and upgrade your network regularly.
You now have your very own home IoT network across the globe -with millions of fuzzy edges. Whether you’re a hobbyist or professional, this IoT VPC setup will give you the building blocks for innovative and secure projects in future-oriented IoT deployments.