First it was text-based tutorials, then came the era of video tutorials. With spheres like e-learning, gaming and vlogging, creating an explanation video on how to perform a specific task, cook an exotic dish or simply share your thoughts has become a growing trend.
Video tutorials make the learning process easier and more engaging, allowing viewers to follow along visually and pause or rewind at their own pace. The best way to create them is by using screen recorder software.
This article will bring in the common types of video tutorials and introduce you to Movavi Screen Recorder. Explore how to screen record on a Mac or Windows effortlessly to create impactful and professional-looking tutorials that will impress your audience.
Table of Contents
Professional Tutorials: What Types Are There?
Tutorials are not just limited to explaining steps for a task. They come in different forms and are used for various purposes that can be anything from sharing knowledge to promoting a product or service. Some of the most common types of professional tutorials include:
- How-to Tutorials: The standard ones that teach viewers how to perform a specific task step-by-step. They are usually used for educational purposes like programming, design, etc.
- Explainer Videos: These types of tutorials aim to explain a concept or idea in an engaging and simplified way. They don’t necessarily have to be instructional, but they are informative and visually appealing. Such videos often use animations, graphics, and voiceover narration.
- Product Demos: As the name suggests, these tutorials showcase a product’s features and benefits. Marketers, businesses, and influencers use them to demonstrate why the product is worth purchasing, which helps promote the brand, increase sales, and drive traffic.
- Gameplay: The only way for gamers to share their skills or walkthrough gameplay is through recording. Game tutorials are widely popular on video-sharing platforms and often come with a voiceover commentary.
Using Movavi Screen Recorder to Capture Tutorial Videos
Now you know the different types of tutorials you can create, but how do you record them? Movavi Screen Recorder is one such solution that brings an easy way to capture screen activity on your computer or laptop. Need to know how to screen record on a MacBook or Windows PC? Follow these simple steps:
Step 1: Visit the Movavi official website
Navigate to ‘Screen Recording’, locate ‘Screen Recorder’, and select the operating system you use. Click ‘Download for Free’ to grab the installer. Open the installation file and follow the instructions to complete the process.
Step 2: Open the software
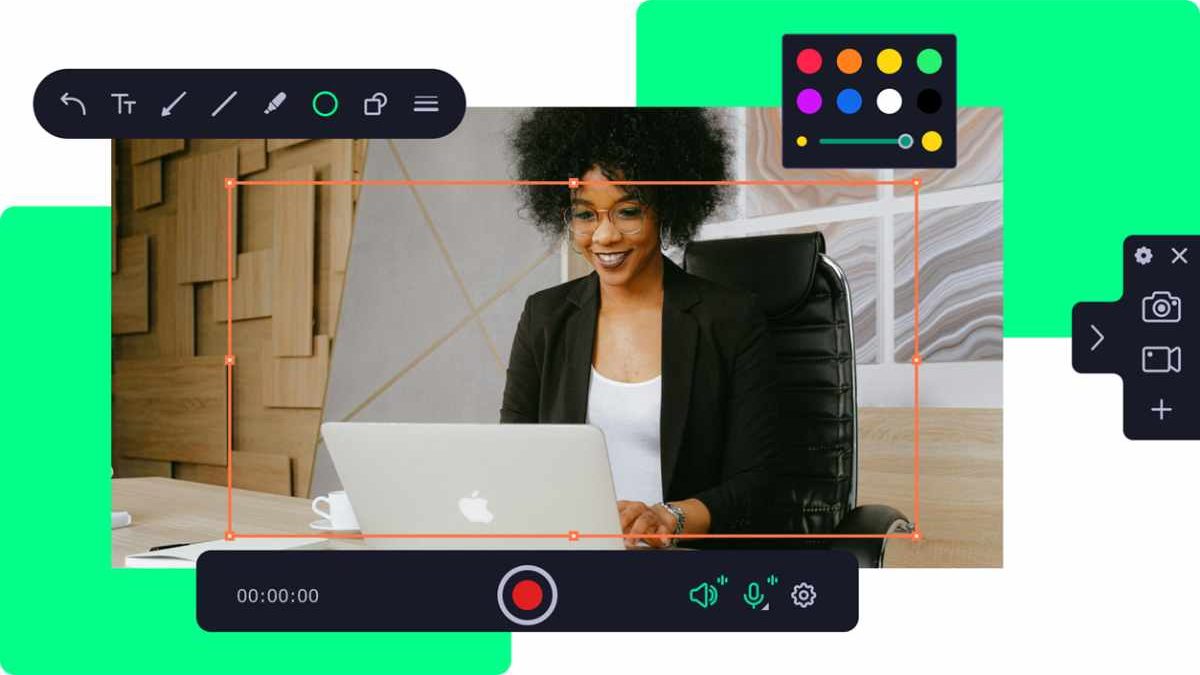
You’ll see a small toolbar on the side of your screen which contains the recording options. In Movavi Screen Recorder, you can capture screenshots, record the screen with internal audio, webcam and external sound, or the latter two separately.
Step 3: Customize the recording preferences
Enter the ‘Settings’ tab. There you can set the frame rate, audio quality, shortcuts, mouse clicks highlighting, and even schedule recording in advance. Click ‘OK’ if satisfied.
Step 4: Click the ‘Screen recording’ option
Resize the recording frame to fit your screen or select a specific app or browser window — you’ll see an orange outline for the selected area. You can also manually adjust the recording frame’s resolution by typing in the desired values in pixels. Click ‘REC’ to start.
Step 5: Record your tutorial
During the recording session, Movavi Screen Recorder provides tools to add annotations like figures and arrows or draw on your screen in real-time. That’s really useful when you need to emphasize particular steps or elements. You can also ‘Pause’ and ‘Resume’ recording in case of any interruptions.
Step 6: Finish and save
Click the ‘Stop’ button to finish your recording. The pop-up preview window will appear where you can review the video and trim it if required.
Hit ‘Export’ and pick the desired video format and move the slider for the size/quality ratio. There are also advanced settings in case you want to tweak the output. Click ‘Save’ to store the video in your desired location.
And that’s how you can easily record a computer screen to make pro-level tutorials. The program doesn’t overwhelm with complex menus, unclear options, or heavy system requirements. It’s a lightweight and intuitive solution that gets the job done quickly and efficiently.
Tips for Effective Tutorials
1. Structured content
Structure defines the quality of a tutorial. Make sure to follow a logical order, break down complicated tasks into smaller steps, and have adequate pauses for viewers to catch up. Don’t let your presentation seem random or incomplete.
2. Clear voiceover
If you add audio narration, it must be crisp and easy to follow. It doesn’t matter how great the video is if viewers can’t hear what you’re saying. Use a good microphone, speak clearly, and avoid background noise.
3. Visual aids
Annotations are great, but there is more. You can also use zooming, VFX, subtitles, animation, and other things to enhance the video’s perceptive value.
4. Learn by example
Before you start recording your video, seek inspiration from other content creators. Analyze their structure, script, presentation style, what tools they use, and so on. By learning from others’ techniques, you’ll get an idea of what works best for you.
5. Practice makes perfect
Don’t just rely on the first take. Practice your script, revise any mistakes, and do a few test runs before recording the final version. That way, you’ll know where to pause, what needs more explanation, and which parts to edit.
Conclusion
Creating professional video tutorials isn’t as hard as it sounds. Do the necessary research, prepare the equipment, and use reliable screen recording software like Movavi Screen Recorder to capture your screen.
Follow the above tips and put your creativity to use, and you’ll have engaging and informative tutorials in no time. Get started and share your knowledge with the world!

