It may be difficult for most users to bear the alarming red space bar indicating low disk space in File Explorer on Windows 10/11. Considering the preservation of existing data, cloning a hard drive to a new SSD (Solid State Drive) or HDD (Hard Disk Drive) appears to be a perfect solution to get rid of this issue.
However, the concerns of data loss and the absence of technical complexity make many users consider migrating a hard drive to be a complicated and difficult operation, preventing them from cloning a hard drive on Windows. Replacing an old hard drive with a new one involves more than a simple copy-and-paste operation between the two drives, as it requires transferring cache, system configurations, registry, and hidden files, making it susceptible to data loss and corruption.
Whether you’re replacing a hard drive for more storage space or backing up your data, this article provides a comprehensive step-by-step guide on how to clone a hard drive, both SSDs and HDDs, in Windows 10/11. By following these instructions, you can navigate through the process with confidence and ensure the integrity and security of your valuable data.
Preparations
1: It is strongly advised to back up the new disk if the data stored on it is crucial as all the data on the new hard drive will be erased during the cloning process.
2: Connect or install the new hard drive to the computer. For external SSDs, you may need a USB to SATA adapter cable or an external SSD enclosure with a USB port. Similarly, for external HDDs, you can use a USB to SATA adapter cable or an external HDD enclosure with USB connectivity.
3: Ensure that the new hard drive has more storage space than the cloned drive.
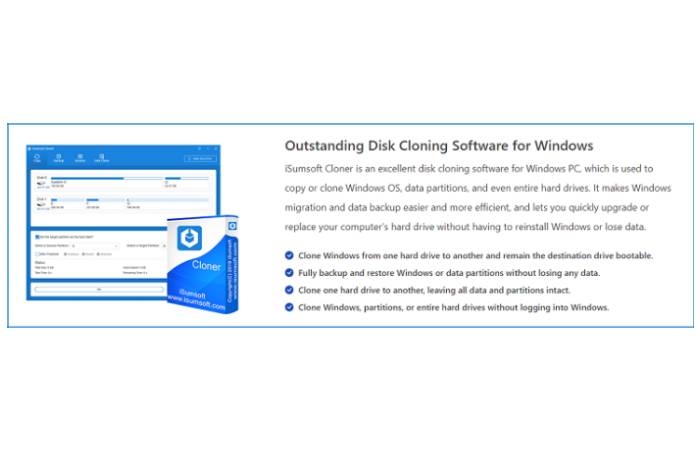
4: Download and install iSumsoft Cloner on the computer. As mentioned earlier, a simple copy-and-paste method is unable to completely clone a hard drive on Windows, so it is of great importance to utilize iSumsoft Cloner to assist in the process.
How to Clone a Hard Drive on Windows 10/11
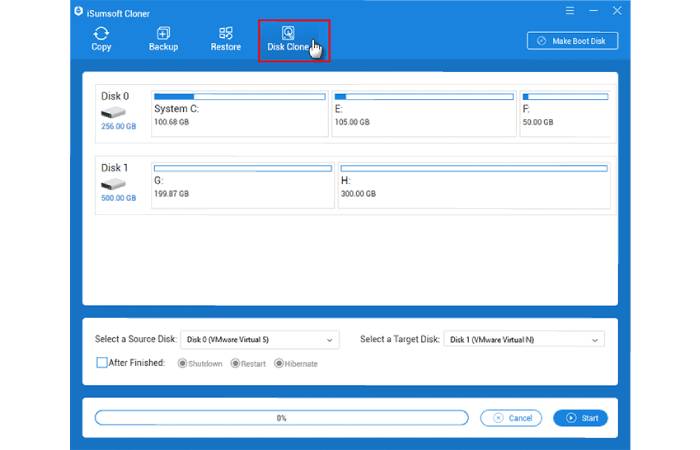
Step 1: Launch the software and select Disk Clone from the interface.
Step 2: Connect the new hard drive to the computer.
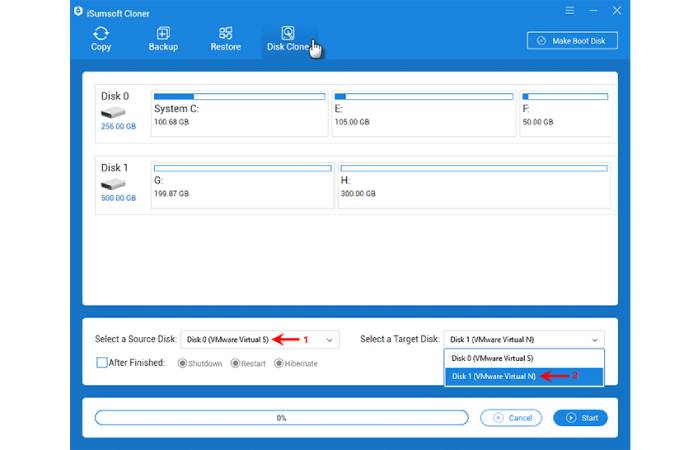
Step 3: Select a partition to clone. In the interface, the program displays all the discs or partitions on your computer. Now, you need to select a source disk to clone and choose the new hard drive as the target disk where the data will be stored.
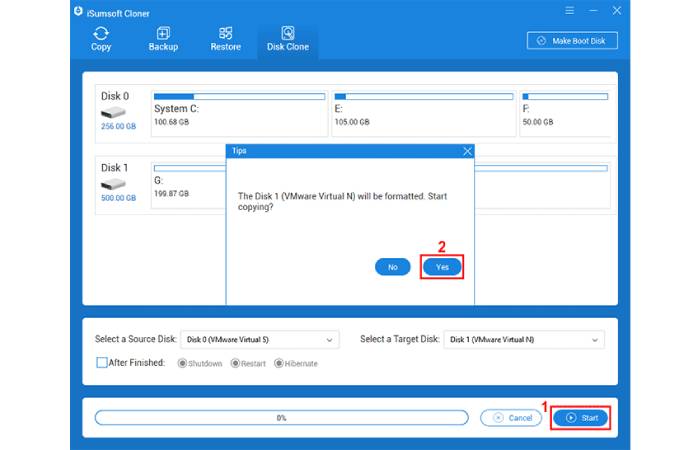
Step 4: If you confirm to clone the selected hard drive, click on the Start button to begin copying a hard drive on Windows 11. If asked Yes or No to format the target disk, click Yes to continue.
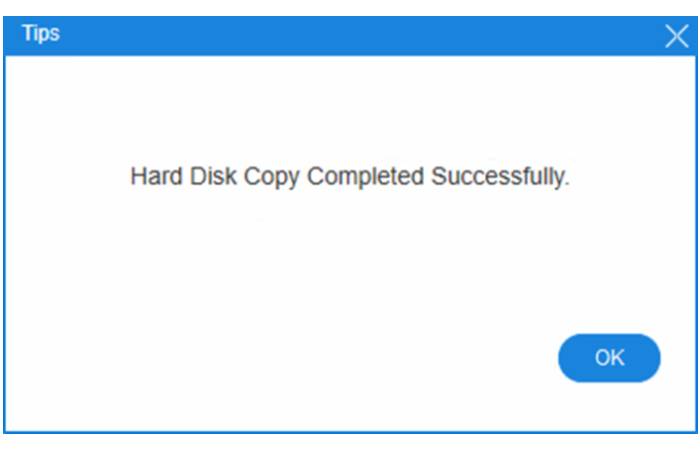
Step 5: Wait for the process to complete. Depending on the size of the cloning data, this process takes a variable amount of time. When the copying is finished, a pop-up window will appear on the interface and you can click OK to exit the program.
Conclusion
Here are all the steps you need to clone a hard drive, including the system drive (often the C drive), in Windows 10/11. However, please note that this process only involves cloning the drive itself. If you want to make your system boot from the newly cloned drive, you need to make a boot disk first, and once you have successfully cloned the system drive, you need to modify the boot settings to enable your computer to boot from the new drive.

