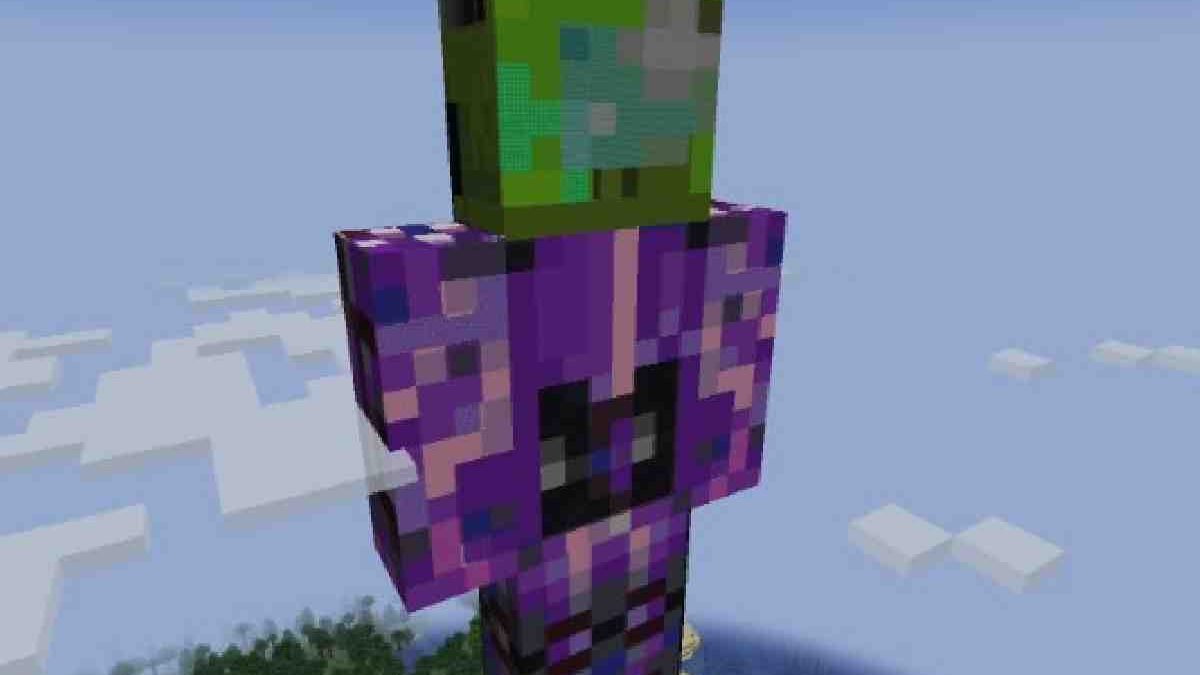
Minecraft is a game that allows for extensive customization, and one of the most fun and personal ways to make your mark is through custom skins. If you’re looking to stand out, consider designing a totem-themed skin. This guide will show you how to create a Totem skin in Minecraft, including how to enhance your gameplay with minecraft server.
Table of Contents
What is a Totem Skin?
A Totem skin in Minecraft takes inspiration from the Totem of Undying, a mystical item that grants the player a second chance at life when they are about to die. A Totem skin often features vibrant colors, mystical symbols, and a design that mimics the look and feel of ancient totems.
Why Create a Totem Skin?
- Unique Appearance: Stand out in multiplayer games with a distinct and culturally rich design.
- Personal Expression: Show off your creativity and design skills.
- Thematic Consistency: Perfect for players who use the Totem of Undying frequently and want a matching skin.
Tools You Need
- Skin Editor: Online tools like Skindex, Minecraftskins.com, and Novaskin provide easy-to-use skin editors.
- Graphic Software: For more advanced designs, use programs like Photoshop, GIMP, or Paint.NET.
- Inspiration: Look at traditional totem poles, fantasy art, or even existing Minecraft totem designs for inspiration.
Step-by-Step Guide to Creating a Totem Skin
1. Choose Your Base
Start with a basic skin template. Most skin editors offer a blank template that you can build upon.
2. Design the Face
The face is a crucial part of any Minecraft skin. For a totem design:
- Use bold, symmetrical patterns.
- Incorporate vibrant colors like red, yellow, blue, and green.
- Add mystical symbols or tribal markings to give it an ancient, magical look.
3. Design the Body
For the body:
- Continue the bold patterns and vibrant colors.
- Add layers to simulate feathers, scales, or carved wood textures.
- Use gradients and shading to give a 3D effect to your design.
4. Add Details
Details make your skin unique:
- Add highlights and shadows to enhance the 3D effect.
- Include accessories like belts, sashes, or ornaments.
- Use transparency for parts like feathers or mystical auras.
5. Review and Adjust
Constantly review your design from all angles to ensure it looks good in-game. Make adjustments as needed.
Applying Your Totem Skin
1. Upload to Minecraft:
- Log in to your Minecraft account on the official website.
- Go to the profile section and upload your new skin.
2. In-Game:
- Open Minecraft and navigate to the Dressing Room or Profile.
- Select your new Totem skin.
Enhancing Your Totem Experience with Minecraft 24/7 Server Hosting
Using minecraft 24/7 server hosting can significantly enhance your experience with a Totem skin.

Always Online
With 24/7 server hosting, your custom-designed Totem skin can be admired by friends and other players anytime they join your server. This is especially useful for showcasing your creativity during community events or multiplayer sessions.
Better Performance
High-quality server hosting provides smoother gameplay and reduced lag. This ensures that your intricate skin design is displayed clearly and without glitches, making your in-game presence more impactful.
Enhanced Security
Reliable server hosting often includes enhanced security features and regular backups, protecting your custom skins and builds from data loss or unauthorized access.
Community Building
Hosting a server 24/7 allows you to build a consistent and engaged community. Share your totem skin design process, host design contests, or collaborate on themed builds, making your server a hub of creativity and fun.
Conclusion
Creating a Totem skin in Minecraft is a fantastic way to express your creativity and stand out in the game. By following this guide, you can design a unique and eye-catching skin that reflects the mystical and vibrant aesthetics of totems. Leveraging minecraft hosting ensures that your creations are always accessible, secure, and admired by your community. Dive into the world of custom skins and make your mark with a stunning Totem design!

