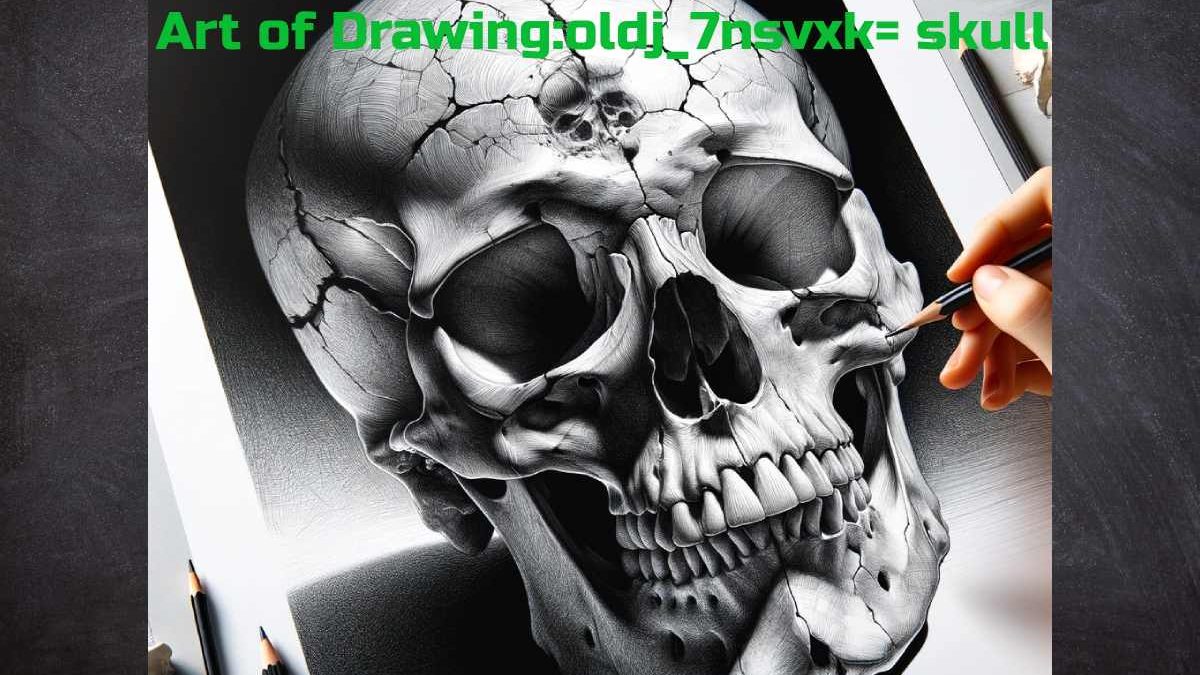
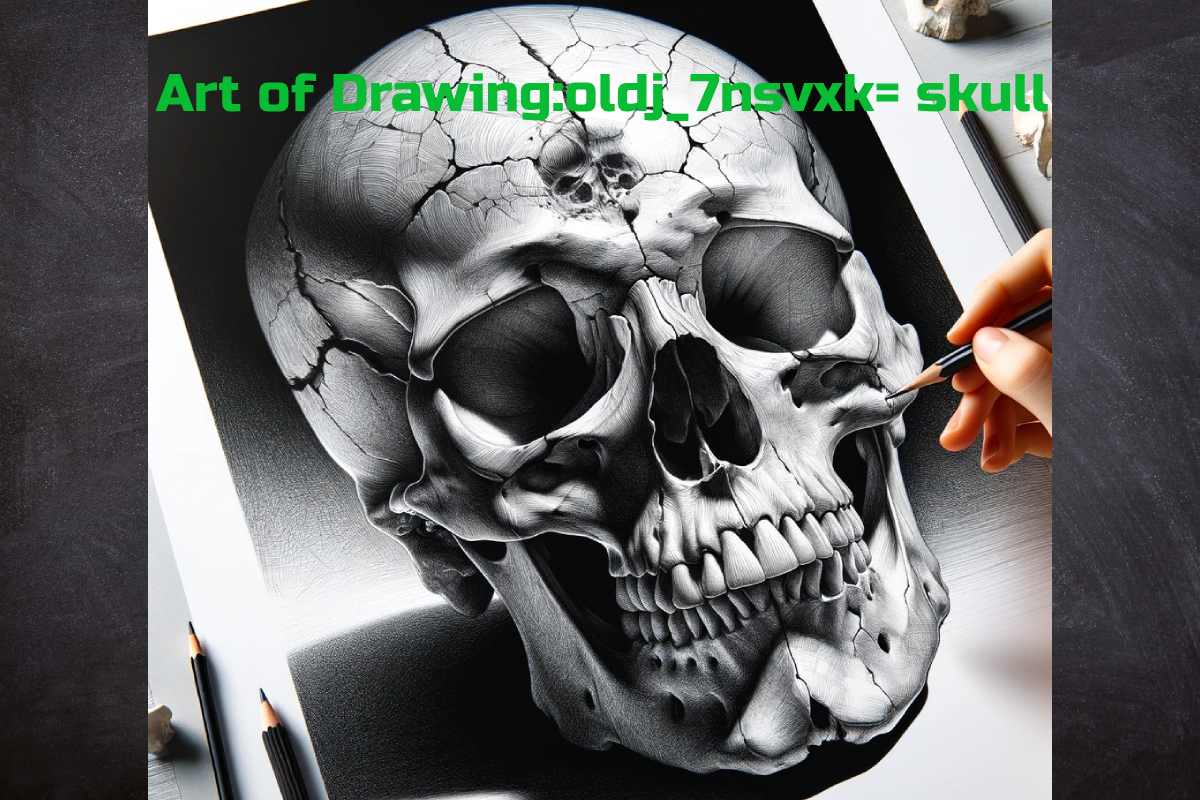
Drawing:oldj_7nsvxk= skull – Creating art can be an exciting venture, but it also has its fair share of struggles, particularly in the case of skulls. These Skulls are a favorite study for artists who want to practice their skills, as the skulls have intricate structures, sharp angles, and shadows. Whether you’re a novice or an accomplished artist alike, it is necessary to instill some depth and dimension if you desire your drawings of skull pieces to look as realistic in 3D on any flat piece of paper.
In this blog post, we go deep into the techniques you require to make your skull drawings look amazing and a slight but modern twist of what they called 5 yr ago “Drawing:oldj_7nsvxk= skull” method, which is making a graphic illustration out of traditional skull sketch.
Table of Contents
Introduction
They are among the most rewarding and challenging images to create, requiring talent and patience. Rendering a skull’s genuine dimension and depth sometimes becomes challenging since that demands apt knowledge about perspective, light, and shadow. The solution comes from the Drawing:oldj_7nsvxk= skull method, which combines traditional drawing style with crisp and modern design to make this skull look almost 3D.
Artists who struggle often find mastery of techniques that emphasize depth and texture, a solution to help overcome these hurdles. If you are ready to bring your drawing skeletons up a notch, this guide will give tricks and tools for helping every step of the way.
Understanding the Concept of Depth in Skull Drawing
Only when a skull has depth will it turn from 2D, boring sketches into realistic pictures. In terms of artwork, depth offers the illusion that a piece has more space or dimension than expected, given its medium. However, to do this, the artist must possess a strong understanding of light hitting an object and how shadows work to create distance & from.
Here are a few things to keep in mind when trying to introduce depth into your skull drawing
Lights and Darks: Shadows offer details that outline the form of the skull, especially in the eye sockets, nasal cavity up into the ridge of the nose, and down along the jawline.
Overlapping Shapes & Forms: When images create criss-crossing, overlapping shapes or forms, it gives a layered effect, letting the viewer understand depth.
Viewpoint: Tilting the skull can add interest to your composition. It adds more depth to the drawing by literally shifting it from straight-on down to a three-quarter view.
Keep them before you as a reference; your ideas will jump out on that piece.
Techniques for Creating Depth and Dimension
Here are a few key methods for creating depth and dimension in your skull drawings:
1. Shading and Contrast
The simplest way to add depth is simply shading. First, you want to establish your lighting source to direct where the shadows go and when and where highlights should be. Darker colors in the deep-set areas, such as eye sockets and underneath cheekbones, can be used while leaving highlights remaining on the forehead and the jawline.
* Shades: Try shading differently.
* Hatching: Cross-hatching intersecting lines that add more depth.
* Stippling: Thinner dots create a more gradual transition between colors
* Blending: This is the process of softening or smoothing out light areas and darks in between using tools like blending stumps.
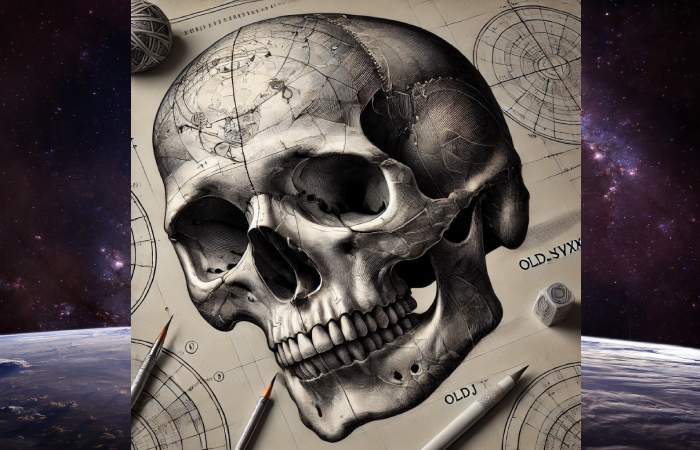
2. Perspective Lines
Drawing your skull using perspective will give the illusion of depth. With the vanishing points and lines of perspective, one can draw how the skull projects forward or recedes. A skull from above or below can bring rapid depth and space to your composition.
3. Varying Line Weight
The variation in line weights makes the skull readable on a page with so much going on. For example, the thicker lines around his jawline accentuate skull shape and draw your eye tellingly.
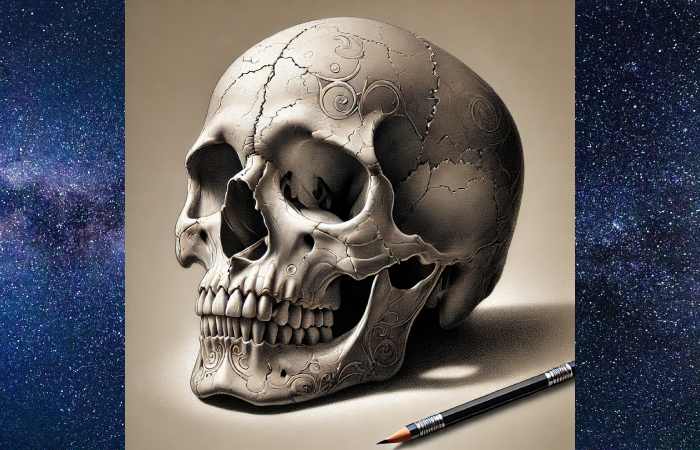
4. Texturing
In the case of realistic skull drawings, textures are essential. In terms of method, the smoother areas will get a less aggressive shading (leaning more toward soft caresses), and I do short, rough lines for little imperfections like cracks or scratches. This diversity of surfaces you use will give the sketch you draw for your skull an integrated and organic work.
Mastering the oldj_7nsvxk Skull Drawing Method
The oldj_7nsvxk method is a fresh style for skull drawing that applies bold linework, morbid shading, and stand-out features. This method adds a sort of motion, as if the skull on this piece has a life-like feel and almost jumps off it.
A complete guide to mastering drawing:oldj_7nsvxk= skull method:
Step 1: Draw the outline.
Begin by gently sketching a basic outline of the skull with only forms :
* A large oval for the skull.
* A smaller oval for the jaw.
* Using the blunt end of a small brush or pointy stick, press gently to indentation these X’s at a shallow depth into either side For the eye Socket and Nasal area.
You can draw lightly with a 2H, which is tough to erase.
Step 2: Define the Features
Details such as the cheekbones, refinements to the shapes of eye sockets, and some indications for teeth can now be drawn on this anatomy layer. That is where you build character and anatomical presence into your sketch.
Step 3: Add Bold Shadows
With a darker pencil, such as 2B, detail in bold shadows where the skull would be deeper, like at the eye sockets and nose cavity. Here is where the high-contrast shading you do with drawing:oldj_7nsvxk= skull shines for dramatic effect.
Step 4: Enhance with Unique Details
Example of the Type Casting with oldj_7nsvxkThis is one example that could show how we should go for unique and creative details in the method.
* Add decorative lines to form cracks or other bone-like elements.
* Include symbols or abstract shapes such as flower, vines, and animals to give the skull a personalized artistic flair.
Step 5: Blend and Refine
A blending stump also helps to blend the transitions from light and dark areas for a more professional-looking finished drawing. Blending is one of the most important steps to achieve that smooth, dimensional effect we all like in the oldj_7nsvxk style.
Common Mistakes to Avoid in Skull Drawing
Drawing is not even without mistakes in experienced artists. Some things to keep out of your ghostwriting business:
Overload of Symmetry: In reality, skulls are not perfectly symmetrical. Do not mirror direct the voices and maintain an organic range of sounds on your left versus right side.
Forgetting the light source: Set your lighting beforehand and stick to it for the rest of this drawing.
Covering the Details: More is Sometimes Less. Undo, tweak, or escape. Only the most important features (shadows, proportions) do matter – avoid overworking and putting everything in there.
Disregarding Proportions: Always ensure the eye sockets, nose, and jaw are all in proportion to each other. The skull will look awkward in the event of corrupt proportions.
Conclusion
Drawing:oldj_7nsvxk= skull – Those smoldering depth and dimension skills are essential to realistic artwork, especially when drawing skulls. By mastering styles and techniques such as shading, perspectives, and texture, you can turn your flat sketches into dynamic pieces of art using a modern approach like the method.
Overall, it would help if you practiced, which is a way to be on top. Whether you are creating art for creative projects, using it to practice anatomy, or wanting a new skill, this how-to will take your skull drawing from amateur to the cusp of basic. Practice and good luck!